Storytime with Carmen and More. Formerly home of Carmen's Adventures in Parenting. Sometimes I have a lot to say. Sometimes I don't. But if I do you can bet your boots I'll say it all . . .
Wednesday, July 25, 2012
Gotta Love Life...
Wednesday, July 18, 2012
Project Pancake: Fun Fetti Pancakes Recipe
This is a really fun and simple recipe to make with or without kids. If you like sprinkles and whipped cream, then you'll love this. Enjoy!
Servings: Depends on the amount of pancake mix you use.
Ingredients:
- Pancake Mix - I use Hungry Jack
- Syrup
- Whipped Cream
- Sprinkles - any kind. You can also use colored sugar.
Fun Fetti Pancakes Directions:
1.) Mix up pancake mix. Throw some sprinkles into the pancake mix or as you're cooking the pancake, sprinkle some sprinkles onto each individual pancake.
2.) Place pancake on plate. Add butter. Drizzle some syrup. Add whipped cream and sprinkles, or sprinkles and colored sugar. Fresh fruit is optional; makes it healthy and even yummier!
Tuesday, July 17, 2012
Project Pancake: Strawberry Pancakes Recipe
Strawberry Pancakes
Prep Time: 10 minutes
Servings: Depends on the amount of pancake mix that you use.
Ingredients For Pancakes:
- Pancake mix - I use Hungry Jack. (If you want a good homemade pancake recipe, click here.)
- Strawberries - 1 package
- Whipped cream
Ingredients for Strawberry Syrup:
- 1 cup of white granulated sugar
- 1 cup of water
- 1 1/2 cups of mashed strawberries
Directions for Syrup:
1.) Bring water and sugar to a boil in a medium sauce pan. Slowly add mashed strawberries and stir well. Bring to a boil, then reduce heat to low and cook uncovered for 10 minutes. Stirring occasionally.
Directions for Strawberry Pancakes:
1.) Cut up strawberries into small pieces - as many as you like. Remember, we want to place strawberries into the pancake mix and on top of the pancake, so make sure you have enough to do both.
2.) Following the instructions per your pancake mix and for the amount of pancakes that you want to yield, mix your pancake mix into a large bowl. Add strawberries to pancake mix. Cook pancakes.
3.) Place pancake on a plate. Add a little bit of butter (I use Blue Bonnet soft butter), then drizzle syrup over the pancake. Make a smiley face with your whipped cream or be creative and do a freestyle design. Top with a handful of diced strawberries. Enjoy!
One of my sons said this tasted like strawberry shortcake. And it does!
Please note: The amount of strawberries you use will depend on the amount of pancakes that you make. For the strawberry syrup you will need 1 and 1/2 cup of mashed strawberries, so you want to make sure that you have enough for the amount of syrup that you need, to put into the pancake mix, and to top the pancakes. For my family, I have to double the batch for syrup. So I need 2 cups of water, 2 cups of sugar and 3 cups of strawberries, plus strawberries for our pancakes and to top the pancakes!
Project Pancake: Chocolate Chip Pancakes Recipe
Chocolate Chip Pancakes
Prep Time: 5-10 minutes if that
Servings: Depends on the amount of pancake mix that you use.
Ingredients:
- Pancake mix - I use Hungry Jack.
- Syrup
- Semi Mini Chocolate Chips - one to two 12 oz packages. I use Nestle Toll House
- Hershey Chocolate Syrup
- Whipped Cream
Chocolate Chip Pancakes Directions:
1.) Prepare your pancake mix depending on how many people that you're serving. Add as many chocolate chips as you like. If you like chocolate, add more. If you don't want it too chocolatey, add less.
2.) Cook your pancakes.
3.) Place pancake on plate. Add a little butter, drizzle syrup and then lightly drizzle Hershey syrup. Not too much Hershey syrup - just light drizzles. Make a smiley face with your whipped cream or create a free style design. Top with a handful of chocolate chips and enjoy!
This tastes just like a giant chocolate chip cookie, so this recipe is definitely for any chocolate lover!
Carmen's Favorite Recipes: Chicken Stir Fry Recipe
Chicken Stir Fry
How to Make Chicken Stir Fry
(See below for pictures.)Note: This was my first time making this recipe and we all LOVED it! It came out awesome. The recipe that I followed did not include green pepper and water chestnuts.
I thought it would be nice to add them the next time I make it, so I added them to the recipe to make it my own. Also note that in the pictures I'm about to post, you will not see broccoli.
That's because when it was done, I kept thinking to myself that something was missing. Something green. And then I realized later when I started to add the recipe to my blog that I forgot to add the broccoli! Duh! I bought it but forgot to add it! Even without the broccoli, though, it was so yummy! Everyone loved it.
Chicken Stir Fry Recipe
Prep Time: 30 minutes
Cook Time: 30-40 minutes all together for everything involved
Ingredients:
- 1 package of chicken tenderloins or 4 boneless skinless chicken breast halves, sliced into strips
- 1 cup of thin sliced carrots
- 1 cup of sliced celery
- 1 large green pepper, cut into wedges
- 1 cup of water chestnuts
- 2 cups broccoli florets
- 1 small onion, cut into wedges
- 3 tablespoons of cornstarch
- 1/2 tsp of ground ginger
- 1/4 tsp garlic powder
- 2 tablespoons of soy sauce
- 3 tablespoons cooking oil, 2 for the chicken, 1 for the vegetables
- 1 cup of water
- 1 tsp chicken bouillon granules
- 2-3 cups of medium-grain rice to 4-6 cups of water for when the stir fry is finished.
Chicken Stir Fry Directions:
1.) Cut chicken into 1/2 inch strips before or after cooking - depends on how you like to do things. Place chicken into resealable bag. Add cornstarch and toss to coat. In a small bowl, combine soy sauce, ginger and garlic powder. Add to bag and shake well. Refrigerate for 30 minutes.
2.) In a large skillet or wok, heat 2 tablespoons of oil, stir-fry chicken until no longer pink on medium to low heat for about 5 - 10 minutes. Remove chicken and keep warm. Add 1 tablespoon of oil, broccoli, celery, green pepper, onion, carrots and water chestnuts and stir-fry until crisp-tender.
3.) Add water and chicken bouillon. Return chicken to pan and cook until sauce thickens, stirring occasionally.
4.) Since the stir fry doesn't take long to cook once you've reached step 2, you could always start cooking your rice before you start step 2. If you're making 2 cups of rice, bring 4 cups of lightly salted water to a boil. Once the water reaches a boil, stir in 2 cups of rice, bring to a boil, cover, reduce heat to medium-low and cook for 20 minutes. If you're making 3 cups of rice, use 6 cups of water instead of 4. (Follow the package instructions for your rice. I use River Rice.
Updated on 1/27/2014: I can not believe that I forgot to add in the rice to this recipe. What is stir fry without rice? Wow, I must have been exhausted when I typed up this one, lol. Edited to add Step FOUR!
Sunday, July 15, 2012
Carmen's Random Tips: Crib Bumper Pad Safety - Two of the Safest Crib Bumper Pads
![]() |
photo credit: jigabugbaby via photopin cc |
The Safest Crib Bumper Pads
Crib Bumper Pad Safety
When it comes to the safety of your baby, can you really put a price on it? Sadly, some have to. Times have changed with bumper pads. Now we have to worry about our babies accidentally getting hurt, or worst...killed by these things.I first heard about this issue when my 12 year old son was a baby. My mother told my brother and I that she had been hearing about this a lot in the news. Babies were being strangled by their bumper pads, or rolling over and accidentally smothering.
When she told my brother, he instantly took my niece's bumper pad out of her crib immediately. I "think" my son was already done with his bumper pad, so mine was already removed. If not, I then removed it immediately. I just remember the story with my brother, because my mother and I still sort of laugh about it to this day. It's not funny; we just laugh about how fast he removed it is all.
He wasn't taking chances with his baby girl. I don't take chances with my children either. When my 6 year old son was a baby, as soon as he started rolling, I removed his bumper pad right away. Now this puts you in a predicament, because the baby can also bump it's head on the crib rail when he or she rolls.
They're also able to get limbs stuck in between the crib rails. So what do you do now? Luckily, there are two safe bumper pads as an alternative to traditional bumper pads that are available to help keep your little one safe and from being endangered.
Safe Crib Bumpers for Your Baby
Wonder Bumpers: Wonder Bumpers are soft just like a bumper pad, only that it's not a bumper pad. They are cute little individual bumpers for each and every crib rail. Who ever thought of these things was a complete genius. You can find them in just about any color or you can even mix colors. You can buy them 2 for $10, you can buy a 24 pack or you can buy a 38 pack. To fill the entire crib, the cost ranges anywhere from $100 and up.
These bumpers are a little bit tricky to get on and are a big pain in the butt, because they constantly slide down the crib but I am happy with my purchase, because it did the job! As soon as my daughters started rolling, I removed the pretty little Pooh bumper pad that they had in their crib right away.
I was going to try to go without a bumper pad like I did with their brother, but that just wasn't happening. They rolled a lot and would get stuck in between the crib rails. So I searched for the safest crib bumper pads that I could find and that's when I found Breathable Baby.
I bought it right away and felt such a relief when it was delivered. I couldn't wait to get it on their crib! My little ones were still sharing a crib at the time. Once the bumper pad was attached, we no longer had little limbs getting stuck in the crib rails, nor did I have any little ones able to climb out once they figured out how to pull themselves up!
I would highly recommend this bumper pad to anyone! Breathable Baby is also an affordable option for Moms and Dads on a budget, because you can purchase a Breathable Baby Bumper Pad ranging in price anywhere from $20 - $50.
My girls are no longer in a crib, but I wanted to spread the word about these bumper pads, because I believe that child safety is of utmost importance and the word should be spread about traditional bumper pads. It could save a lot of crib deaths!
Girly Double Strollers
![]() |
My girls in their stroller when we went fishing. |
My Search for the Perfect Girly Double Stroller
There are so many girly single strollers, but you really have to hunt to find anything girly in a double. I still can't figure out for the life of me why. But have no fear...I have found a few.
Baby Trend Double Snap N Go Stroller Frame
I ordered mine from Amazon. Shipping was fast and the stroller arrived in perfect shape. It doesn't have seats but is perfect for just popping your infant car seats into. It fits most major brand car seats. The cool thing about this is that the frame is black, so it doesn't matter what color your car seat is.
Regardless, it will match. Anything goes with black. There is a large storage basket and a parent tray with two cup holders. I "think" I was able to put my keys and cellphone into a little compartment in the parent tray. I'm not 100% on that because it's been a while since I sold mine.
I made the mistake of accidentally setting it up for the wrong car seat type the first time. We had a family emergency and I was in a hurry, and realized it later when it mattered most. Don't worry...no one was injured. It was just a hassle for me, because I had to redo everything while I was out.
Instructions are easy and simple, though. Just make sure you're following the instructions for your car seat type is all I'm saying. Once you have it set up, you're good to go. As any parent of an infant knows, it's so convenient to just pop the car seat into a stroller and go, especially with a sleeping tot. If you have to take them out of their car seat to put them into a stroller while they're sleeping = a nightmare for parents.
My Present Stroller - The Graco DuoGlider LX Zarafa Double Stroller
Now we'll move on to my present stroller, and then I'll later share two girly double strollers that I'm also interested in purchasing for different reasons in the future. Well, being the mother of four boys, I always said that if I ever had a little girl she would be smothered in pink. I thought she would have everything pink. Pink clothes, pink room - pink everything.
Once I had my girls, that quickly changed because I realized that it gets old buying everything pink. I began to love other colors for my girls, as well. Baby yellows, baby blues, peach, purple, etc. I still love my pinks but am open minded to other colors now, too. So at the time, my search for the pink ended like this - I found some strollers that had baby pink in them, but I could only imagine how dirty they would get at the park or if we bring my girls fishing with us, etc.
I began to be more realistic in my search. I wanted something girly with a tray, large storage area and large canopies to keep the suns rays out. I also wanted something easy to push with sturdy wheels. I read so many reviews about faulty wheels on double strollers...and this worried me.
So I came upon the Graco DuoGlider LX Zarafa Double Stroller. I love this stroller, just wish it was more girly. I still love it though. It's orange and brown but the orange is almost like a peach - almost. I like that the brown keeps it from showing dirt from their feet.
It has tons of room on the parent tray with a little compartment for keys, cell phone or anything else you'd like to stick in there. It's easy to push. The canopies are large with sun visors, so my girls are safe from the suns harmful rays. The storage basket underneath is huge.
Two Strollers of Interest
My stroller of choice for in the future now is the Baby Trend Hanna Double Jogger Stroller. There are no ratings yet on Amazon, but I found good reviews on other sites. I love the colors and the fact that it's all terrain. The colors are pink and navy blue. If I ever have the extra cash to buy another stroller "just because" then I would also pick the BeBe Love 425s Black and Pink Tandem Stroller.
Why? Because I love the colors. Pink and black! If Amazon had this stroller back when I bought my Zarafa, sadly I wouldn't have bought my Zarafa. I do love my little giraffe stroller though - it's so cute. :)
Thursday, July 12, 2012
Random Tips: Fire Safety 101 for Parents
www.nfpa.org |
Attention Parents:
Do you have a fire safety plan? Whether you do or not, please read...
The Inspiration for this Post - My Dream
Tips for Planning Your Fire Safety Plan
- Imagine different scenarios. Consider the possibility that you might be unable to see. Practice crawling to exits, etc.
- Include every possible exit and what to do in the event that an exit was blocked.
- If you have children make sure they know what to do if you can't reach them.
- Make a plan to meet outside at a certain spot.
- If you have a second story and have children you can buy fire safety ladders. They sell fire safety ladders on Amazon, and I "think" the hardware stores. Also, places like Lowes or Home Depot probably more than likely carry them.
My Final Thoughts
Wednesday, July 11, 2012
The Juggling Act
Tuesday, July 10, 2012
Who Cut My Lawn??? Part 2
Funny thing is, I actually had just spoken to my landlord a few days before this and told them that I had someone coming out that Monday or Tuesday to not only cut the grass but to also remove all of the poison sumac that was taking over the front of the house.
After that, I plan on handling the lawn myself with my teenage sons. She was fine with this. Monday was July 2nd. I have no idea who sent this man to cut my lawn or why they sent him, but I feel blessed again because it saved me $45 off of the total cost to have my lawn work done!! Thank you, who ever you are.
Saturday, July 7, 2012
Quick and Easy Dinner Ideas: My Favorite Spaghetti with Meatballs and Sausage Recipe
Spaghetti with Meatballs and Italian Sausage
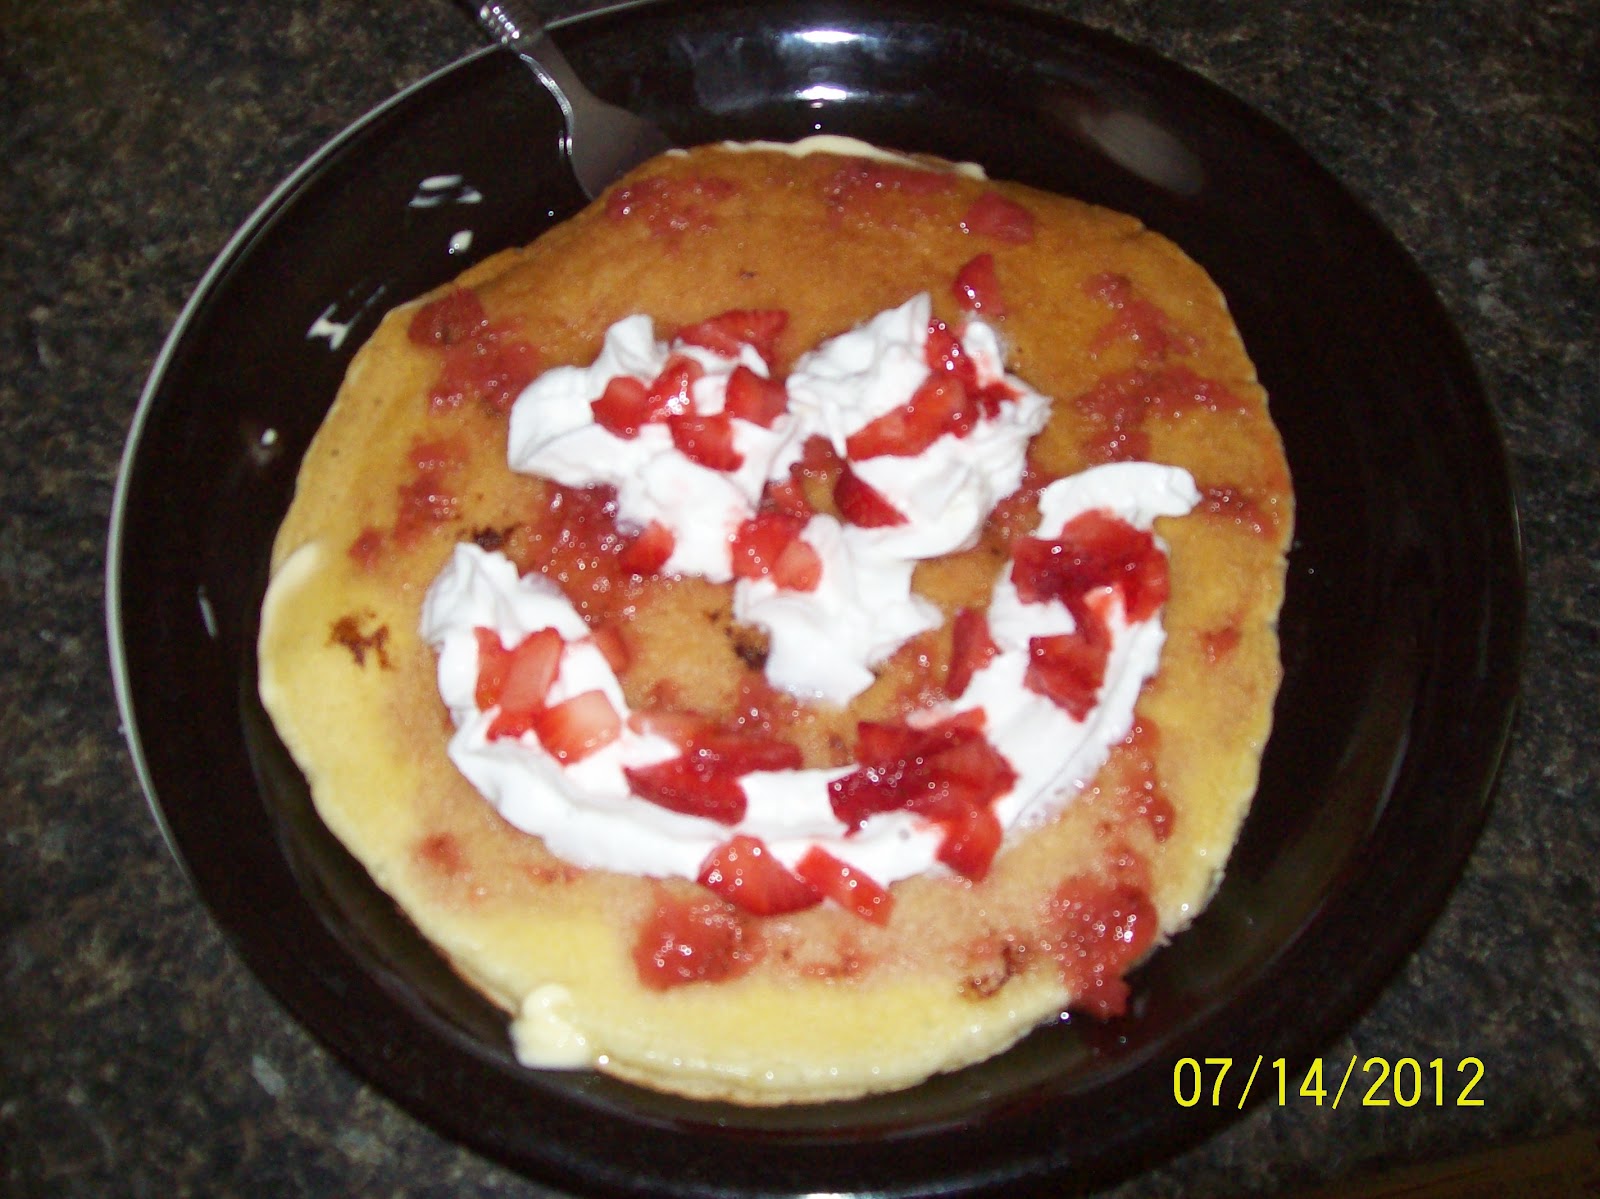
What kid doesn't like spaghetti and meatballs? Add in some Italian sausage and, yum. Definitely can get at least two nights out of this as well. So let's get right into it...
My Recipe
Prep Time: 10 minutes
Cook Time: 1 hour and 15 minutes
Servings: 7-9 (Depends on how much pasta that you cook and how many meatballs or sausage each person eats.)
Ingredients for Meatballs:
- 1 pound of ground beef
- 5-6 Italian Sweet Sausage
- 1 cup of Italian seasoned bread crumbs
- 1 egg
- 1/2 tsp. garlic powder
- 1/2 tsp. onion powder
- 1/2 tsp. basil
- 1/2 tsp. oregeno
Ingredients for Sauce:
- 1/2 tsp. oregeno
- 1/2 tsp. basil
- 1/2 tsp. onion powder
- 1/2 tsp. garlic powder
- 2 28oz. cans of crushed tomatoes (I use Contadina.)
- Small can of petite diced tomatoes
- 1/2 cup of 100% Grated Parmesan & Romano cheese
Spaghetti with Meatballs and Sausage Directions:
1.) Unless you buy fresh ground beef and sausage, you will need to defrost your meat. Here's what I do. I defrost my ground beef in the microwave first.
2.) Once the ground beef is done defrosting, I put the ground beef into a bowl and then put the Italian Sweet Sausage in the microwave to begin defrosting while I work on the meatballs.
3.) Add 1/2 tsp. garlic powder, 1/2 tsp. onion powder, 1/2 tsp. basil, 1/2 tsp. oregeno, 1 egg, bread crumbs and mix well. Start shaping your meatballs and then add to frying pan. Don't turn on the stove until you have added all meatballs to the frying pan.
4.) Brown meatballs on all sides for about 10-15 minutes, depending on how long it takes to brown them. Cook on medium/low heat.
5.) Pour both cans of crushed tomatoes into a large sauce pan or dutch oven, along with your petite diced tomatoes.
6.) When meatballs are done cooking, depending on how much grease is in the pan, you might need to drain them on to a plate with a paper towel. If there isn't much grease, just place the meatballs into the sauce as is.
7.) Your sausage should be done defrosting by now, unless you bought fresh that is. Place the sausage into the sauce next. Then add 1/2 tsp. onion powder, 1/2 tsp. garlic powder, 1/2 tsp. basil, 1/2 tsp. orgeno and 1/2 cup of parmesan cheese. Cover, stir well and bring to a slight boil on medium heat. Stir again, reduce heat to low and simmer covered for about an hour. (You can also brown the sausage if you choose to do so. I don't usually do that; it's a time waster to me.)
8.) Once your sauce has cooked for about 40 minutes, bring a large saucepan or dutch oven full of water to a boil. This is for your pasta. I prefer angel hair pasta, which takes only three minutes to cook once I place it into the boiling water. I sometimes use thin spaghetti or regular spaghetti, too. I mostly cook with the angel hair pasta, though. I like the taste and it's quick.
9.) Once your pasta is done cooking, drain the pasta in a strainer. I usually keep the pasta in the strainer and place it onto a plate so that any left over water doesn't drip all over the place.
10.) Now, you serve. You can leave the sausage whole, you can cut it into halves, or you can cut it into slices...depends on how you like it. For my older boys I give them a whole sausage. My youngest gets a half a sausage cut up. My girls get one half of a sausage, cut up into small pieces and divided. I eat one half.
Friday, July 6, 2012
Carmen's Favorite Recipes: My Favorite Hamburger Recipe
I'll never forget when I was 11/12 years old and went on a camping trip with an aunt. She let me cook cheeseburgers and I accidentally flipped the burgers after I had placed the cheese on them. Yes...I can assure you...we all laughed.
Carmen's Favorite Hamburger Recipe
Prep Time: If you have to defrost your ground beef, we're not counting defrost time here. Prep time takes maybe 5 minutes.
Cook Time: 10 - 15 minutes. 5 - 10 minutes for each side on low to medium heat. Cook until you no longer see pink juice. Unless that's how you like your burgers. I like to make sure mine are cooked thoroughly.
Servings: 1 lb. of ground beef yields 7 - 8 burgers for me. It depends on how big you make your patties. For bigger patties and for more people, use more ground beef.
- 1 lb. of ground beef
- 1/2 tsp. of oregeno
- 1/2 tsp. of basil
- 1/2 tsp. of garlic powder
- 1/2 tsp. of onion powder
- sprinkle of salt and pepper
- sliced cheese for cheeseburgers (optional)
My Favorite Hamburger Recipe Directions:
I make my patties on a plate. It's easier for me. I also do it to be careful with germs, etc. |
Best Come Back Ever Coming Soon
To be continued...
-
Everything that I want to do and write about is on hold due to no batteries in my camera for my recipes. My batteries die so fast in my ca...
-
To be continued...